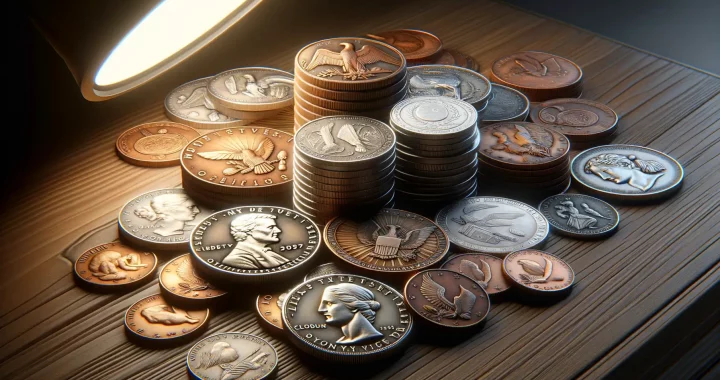
Essential Equipment for Coin Photography
Setting the Foundation: Must-Have Tools
To capture the breathtaking details of a coin, you need more than just a camera. Think of your setup as a painter’s palette—it’s the tools that help you create magic. First and foremost, a good-quality DSLR or mirrorless camera is your trusty sidekick, ensuring every scratch and gleam of the coin comes alive. Pair this with a macro lens for those razor-sharp close-ups that make even the tiniest mint marks stand out like a superstar.
Let’s not forget the importance of a sturdy tripod. Whether you’re working with ancient coins or shiny new collectors’ items, a rock-solid base eliminates those pesky shakes, leaving your image crisp and flawless. Oh, and don’t overlook a remote shutter release—it may sound fancy, but it’s the unsung hero that stops your hand from nudging the camera at the worst moment.
- Lighting setup: A ring light or LED panels can work wonders to avoid awkward shadows and bring out the coin’s natural luster.
- Background material: Go neutral—black or white backgrounds keep the focus on the coin and add that professional touch.
Don’t think of these tools as “gear”; think of them as your creative allies, ready to transform simple snapshots into miniature works of art.
Mastering Lighting Techniques for Coins
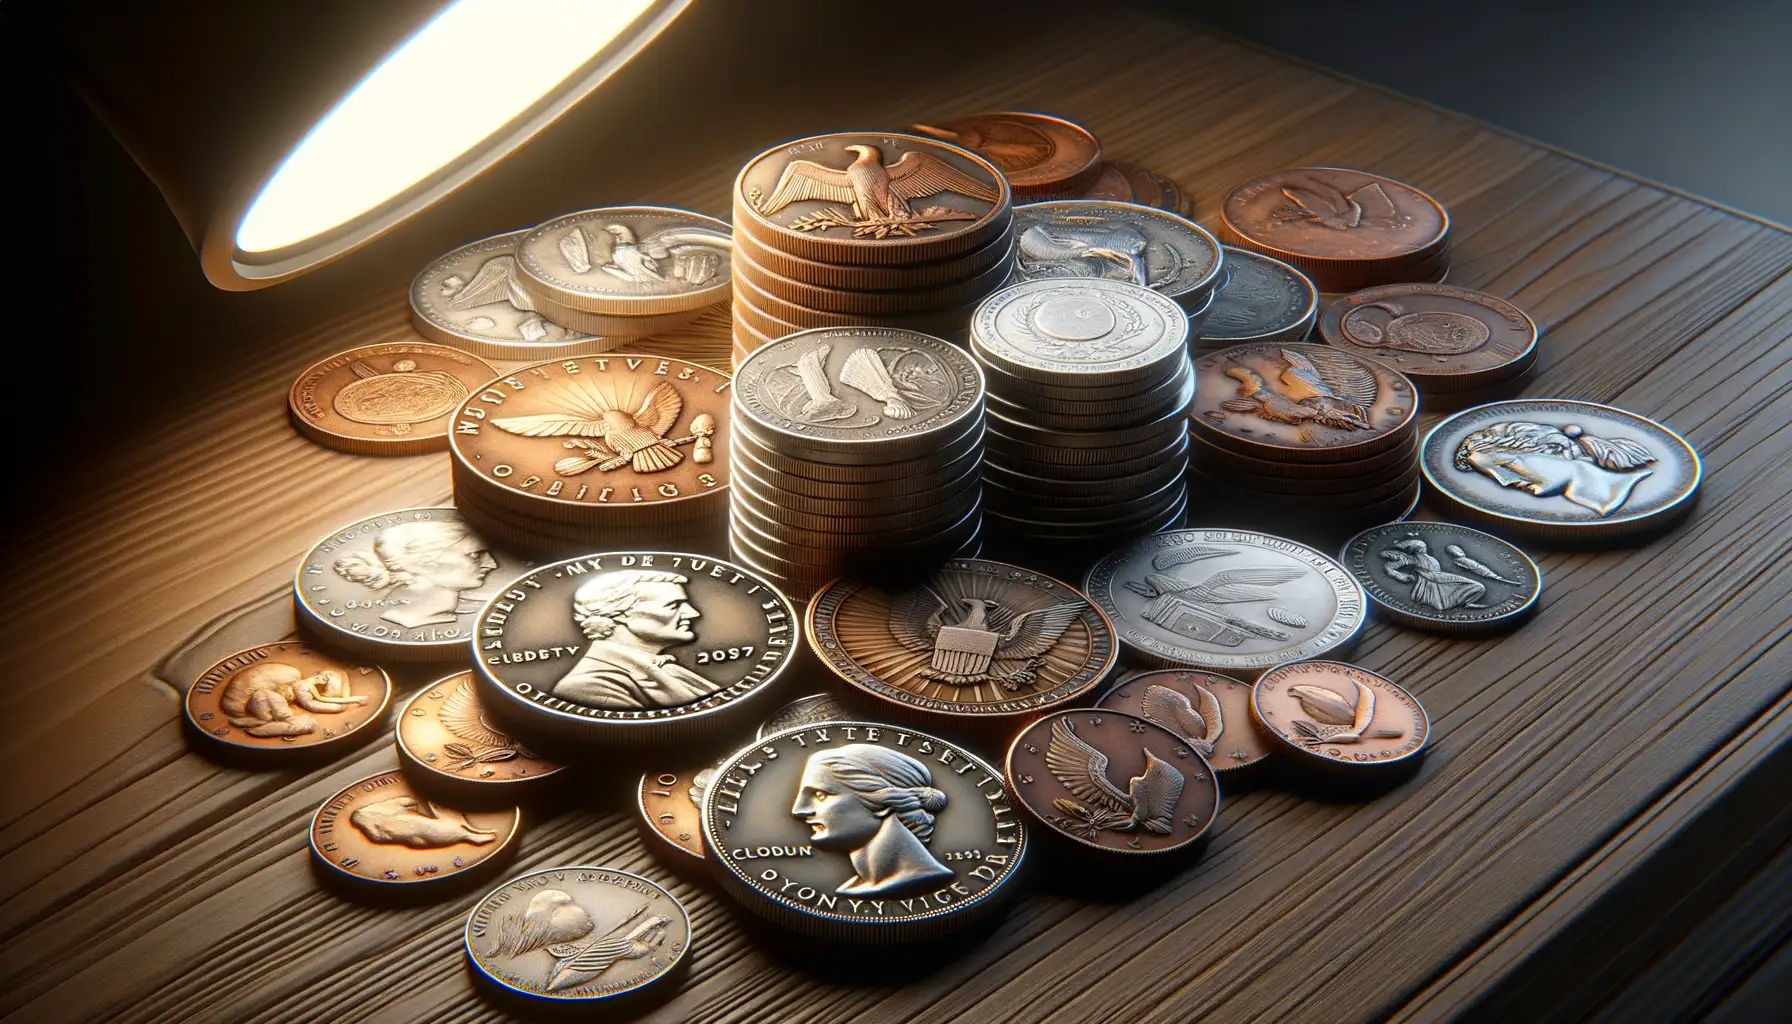
Discover the Power of Light: Elevate Your Coin Shots
Let’s talk about lighting—arguably the soul of coin photography. Without the right light, even the rarest coin can look dull and lifeless. Imagine trying to capture the intricate shimmer of a Morgan silver dollar or the fine details of an ancient Roman denarius under dim, harsh lighting—it’s like painting a masterpiece in the dark.
The secret? Strategic lighting that highlights every ridge, inscription, and texture! Here are some practical tips to transform your setup:
- Diffuse light for softness: Use light tents, frosted glass, or even tracing paper to tame harsh shadows that can obscure features.
- Side lighting for texture: Place your light source at an angle (around 45°) to bring out the coin’s depth and dimension.
- Avoid reflections: Coins are naturally reflective, so experiment with positioning your light source to dodge unwanted glares.
And let’s not forget color temperature! A warm, balanced light helps the natural tones of the coin pop—no unnatural hues muddying the beauty of your prized collectible. Think soft daylight for the classic glow.
Step-by-Step Guide to Capturing Stunning Coin Images
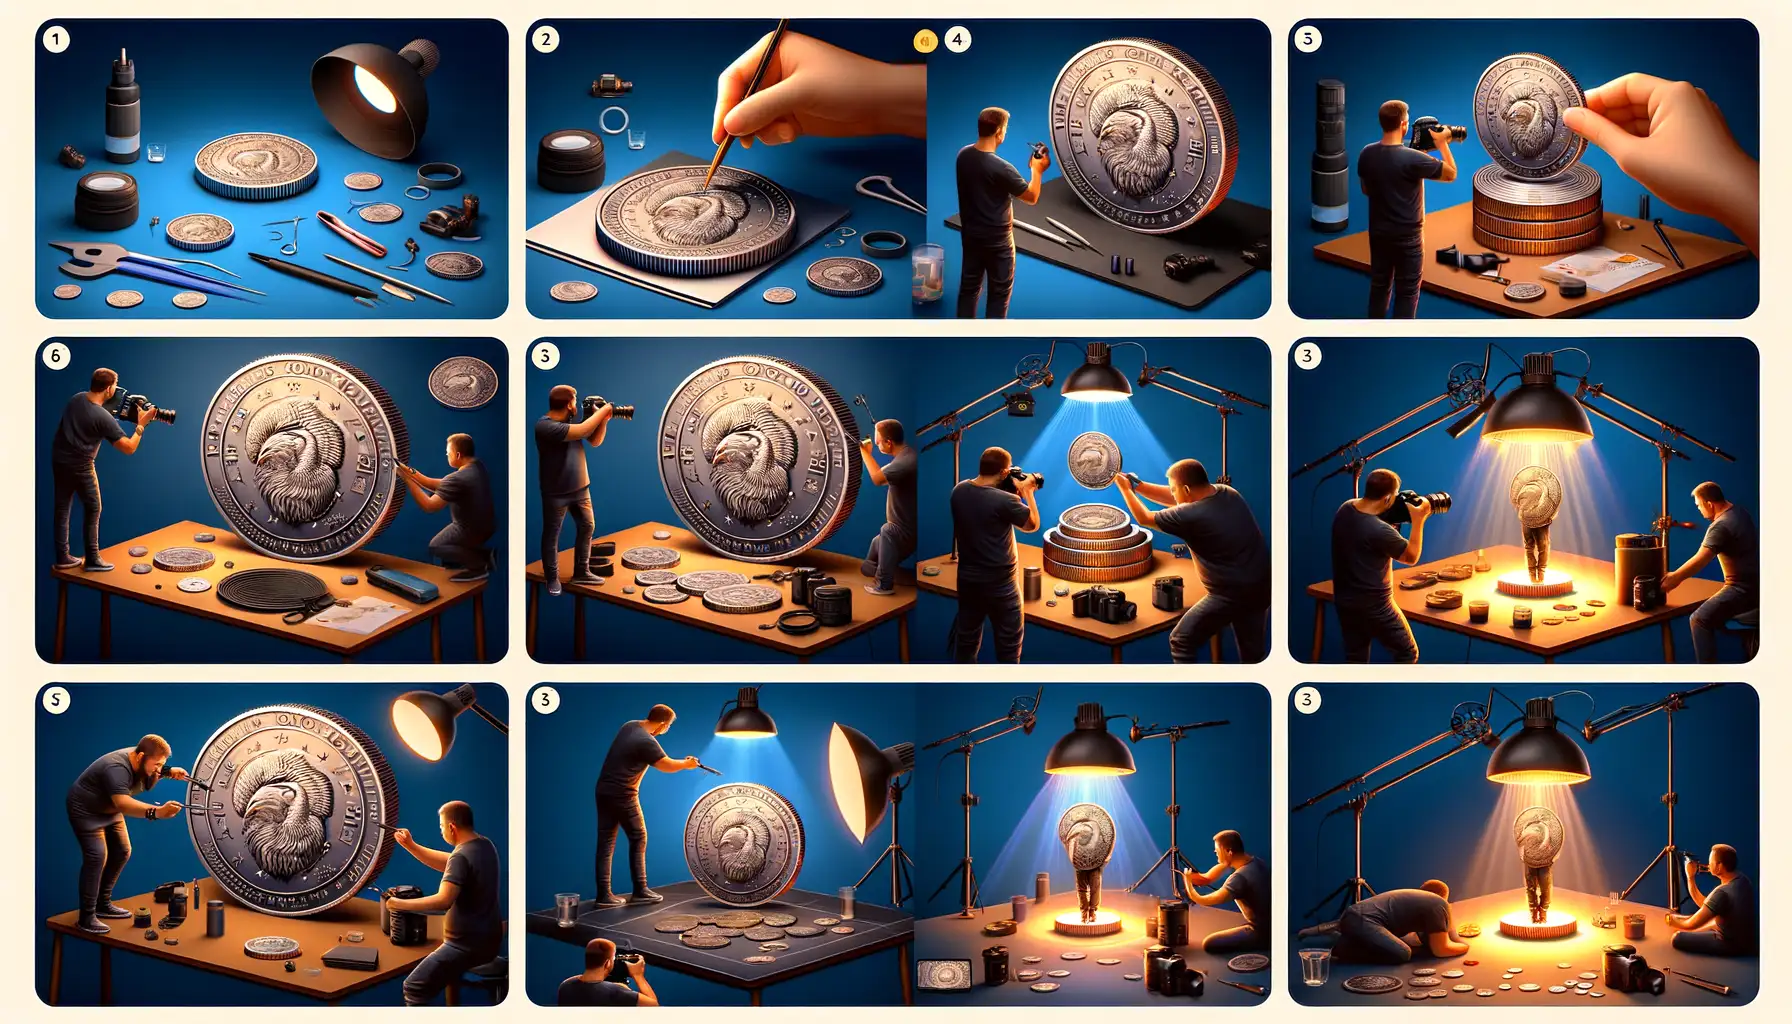
Get Your Workspace Coin-Ready
Creating mesmerizing coin images starts with a clean canvas—your workspace. Think of it as setting the stage for a theatrical performance. First, ensure your coins are free from fingerprints or dust; even the tiniest smudge can cast an unwanted shadow. Use a soft microfiber cloth or a *dedicated coin-cleaning tool* (no shortcuts here). Next, set up a neutral, non-reflective backdrop—gray or black works wonders to make your coin’s details pop without visual distractions.
Position your camera on a sturdy tripod for that rock-solid stability. Even your breath could introduce blur at close range! Adjust your lens and focus manually—trust me, auto-focus tends to get confused by the intricate textures of coins. If you’re shooting under natural light, aim for the golden hour. No harsh reflections, just smooth illumination.
- Pro Tip: Place a piece of white paper around the coin as a “light diffuser” for softer, even lighting.
- Consider small wedges or stands to keep the coin upright if you’re capturing its edge or surface relief.
When everything is set, it’s go-time! Remember, patience pays off—keep adjusting angles until your coin looks like it belongs in a museum catalog.
The Magic Is in the Angles
Coins are almost alive when it comes to photography—they sparkle differently at every turn. Experimentation is key! Start by tilting the coin slightly toward the light source. This angle often enhances depth, giving your image a three-dimensional feel. Shooting straight-on can miss the delicate ridges on the surface, so play around! Coins with engraved text or patterns look stellar when shadows dance across their features.
Don’t forget to highlight unique characteristics. Is it the glossy shine of a modern coin? The worn edges of an ancient piece? Showcase its story! Try macro photography for extreme close-ups; capturing the minute details is like revealing a world within a world. Every tiny scratch, inscription, or bevel tells a narrative that a proper photo can immortalize.
Common Mistakes and How to Avoid Them

Lighting Pitfalls That Can Ruin Your Shot
Ah, lighting—the magic wand of photography! But in coin photography, it’s also the sneaky culprit behind so many blunders. Ever noticed how some coins look dull or glaringly bright in pictures? It’s usually because the light’s been mishandled. Avoid these missteps, and your coins will shine (literally):
- Direct light disasters: Shooting with harsh overhead lighting creates intense reflections that overpower the subtle details of a coin. Always diffuse your light with softboxes or even a DIY trick like tissue paper over a lamp.
- Shadowy surprises: If you’re not careful, your own hand—or the camera—might cast unexpected shadows. Double-check your angles before clicking that shutter!
The Perils of Overediting
It’s tempting to slap on filters or crank up the sharpness slider, but restraint is key. Coins are prized for their intricate detail, from delicate engraving to subtle patinas. By overediting, you risk losing the authenticity collectors adore. Consider this: amplify the natural textures by adjusting contrast slightly, but don’t erase them. Think of editing as seasoning—not drowning your beautiful dish in salt!
Post-Processing Tips for Enhancing Coin Photos
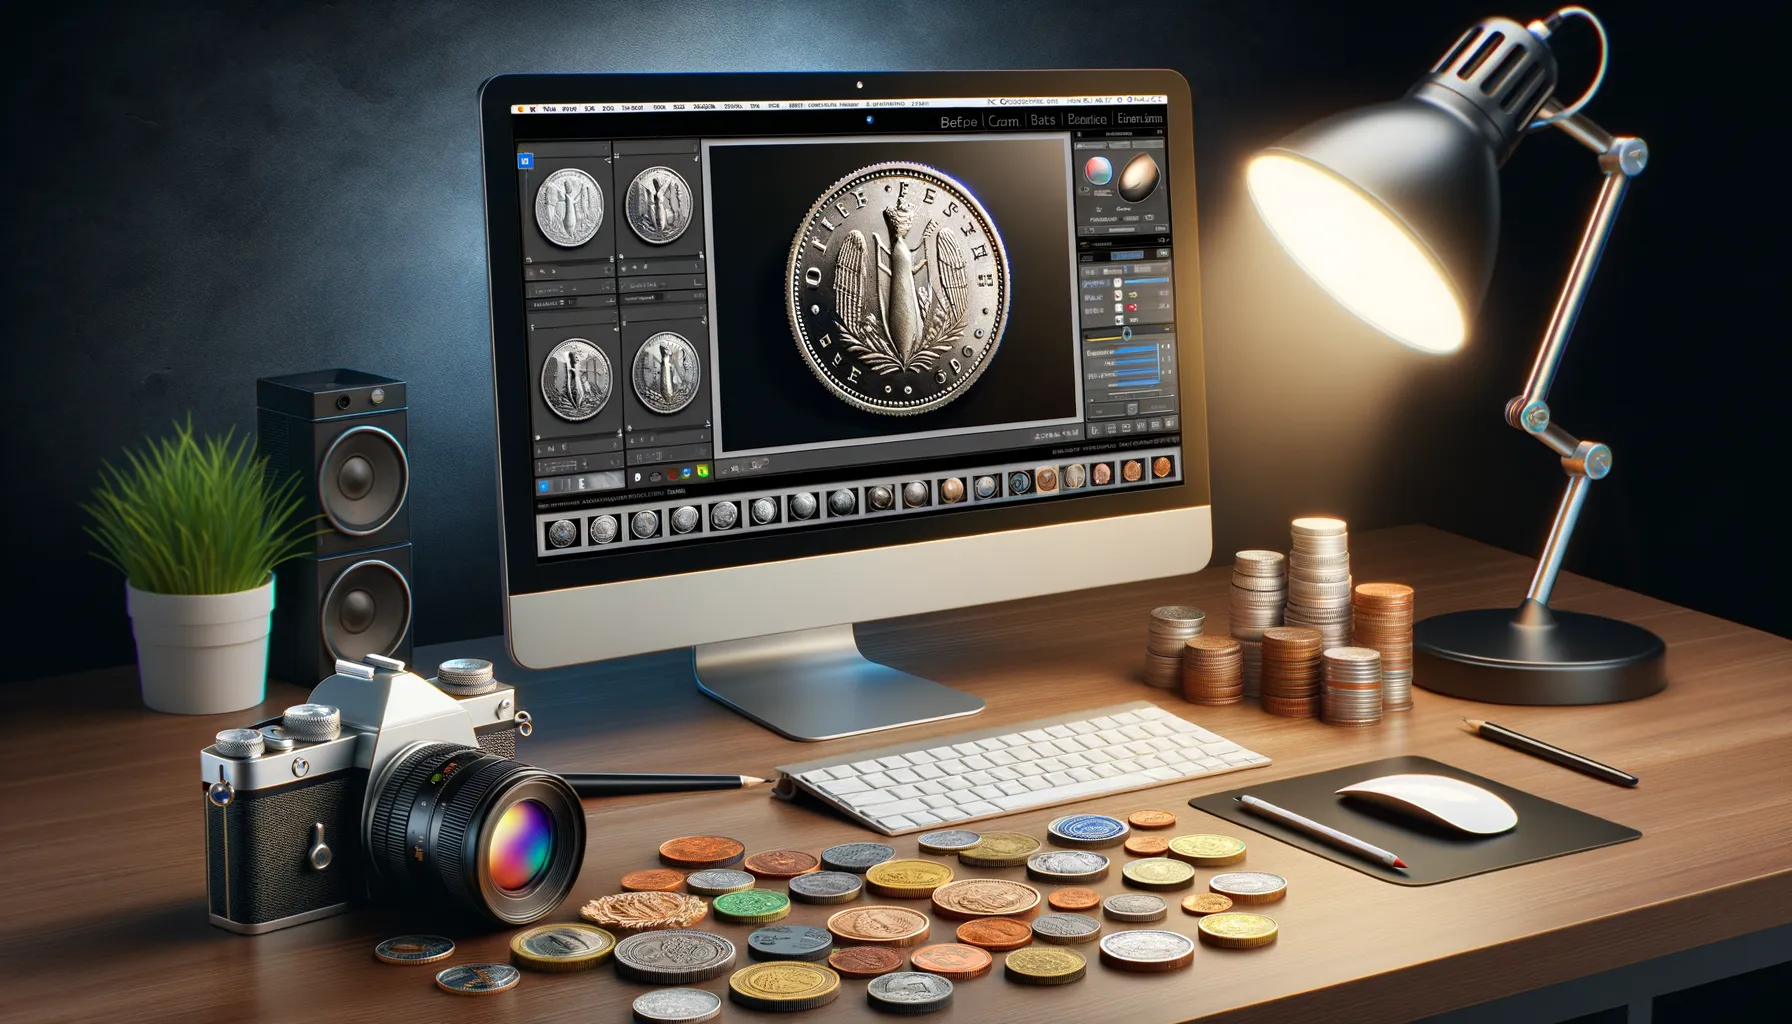
Transforming Your Coin Photos with Post-Processing Magic
Sometimes, the true beauty of a coin lies hidden until post-processing works its wonders. Think of it as polishing a treasure: raw images are just the beginning!
In editing software like Adobe Lightroom or even free tools like GIMP, you can elevate your photos to professional standards. Here’s where the magic happens:
- Scrutinize the background: Is it dull or cluttered? Use tools to smooth it into a clean, uniform canvas that makes your coin dazzle.
- Adjust the contrast and brightness: Coins, especially older ones, often pop when their intricate details are accentuated.
- Correct colors: Coins with reflective surfaces might pick up odd hues from lighting; tweak them back to life with precision.
- Remove distractions: Dust specks or tiny scratches? Banish them digitally for a pristine result.
Fine-Tuning the Details Like a Pro
Zoom in close—closer than you’d think—to perfect the edges. A poorly masked edge can instantly spoil the professional feel of a photo. Cropping is another game-changer; frame the coin tightly so it commands attention. Sharpening tools? These are your secret weapon for ensuring inscriptions shimmer and engravings stand proud against the surface.
When editing coins, you’re not just tweaking pixels—you’re crafting art. Every stroke, every slider adjustment is a step toward creating an image that captures both history and elegance.